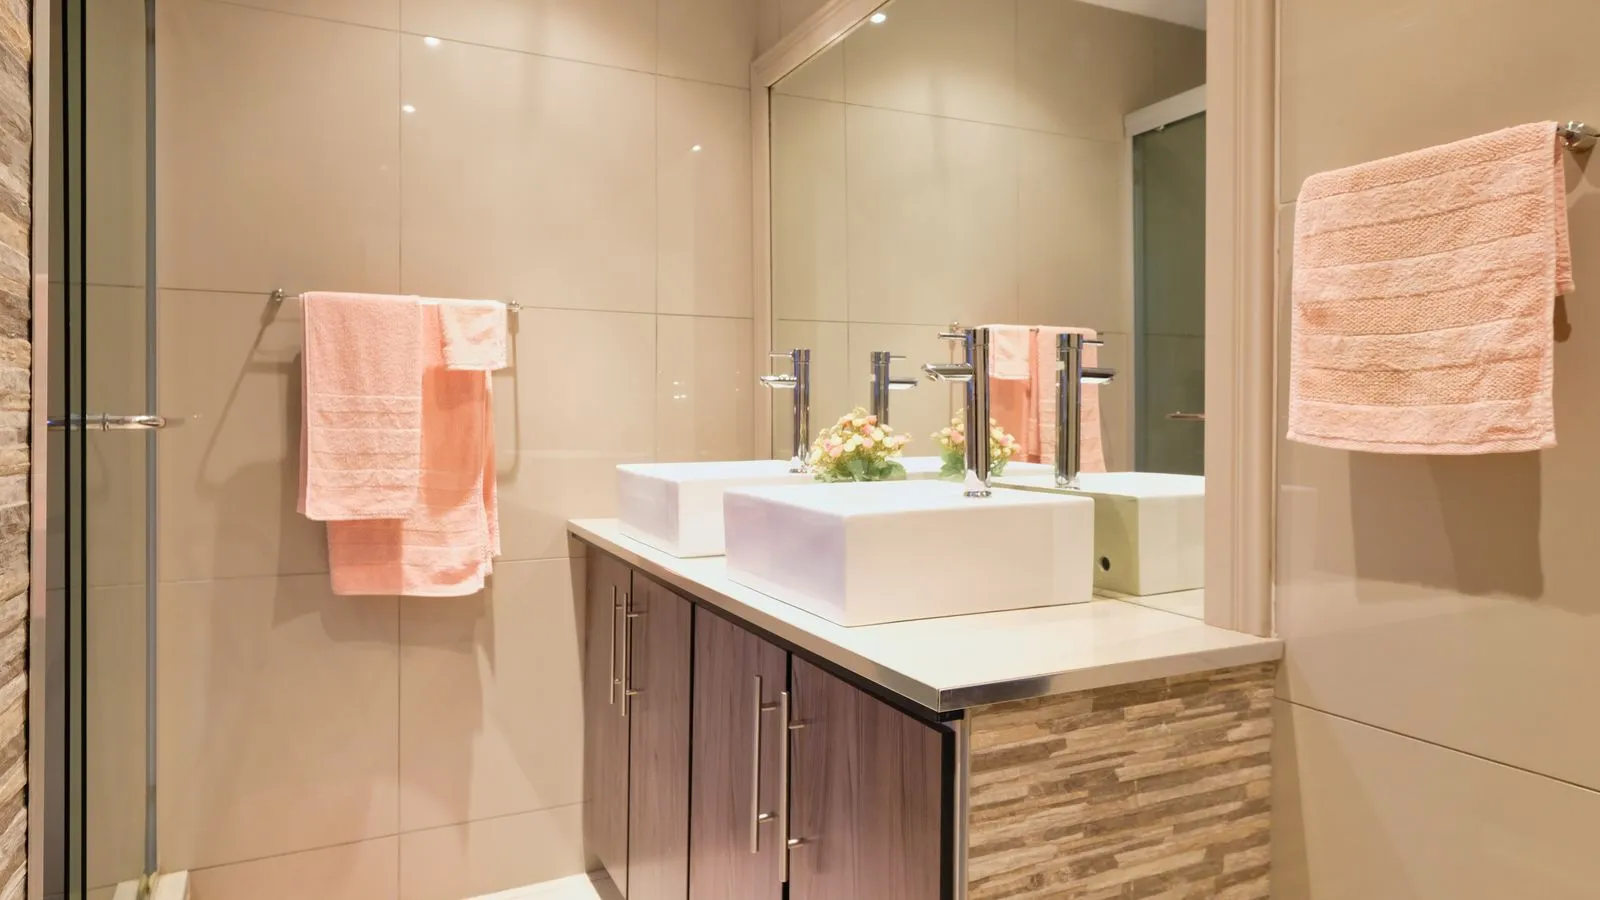
A well-planned bathroom tile layout can make a small room feel more orderly and help a striking tile pattern look intentional. Start by measuring the surfaces, then decide where full tiles, cut tiles, and grout joints will fall. Pay attention to what people notice first, such as the shower wall or floor when they enter. A little planning before installation can prevent narrow slivers at edges and keep patterns aligned across the room.
Measure Every Tiled Surface
Measure the length and width of floors, walls, niches, and shower areas separately. Note doorways, windows, plumbing fixtures, benches, and changes in wall depth. For walls, record the height from the finished floor to the ceiling or planned tile edge. These details affect where a layout can begin and where cuts will land.
Sketch each surface and mark its dimensions. Include the tile size and the planned grout joint, since the joint adds to the repeating size of each tile. Check whether walls are square and floors are level; many are not perfectly straight. A dry layout with actual tiles can reveal where adjustments may be needed before adhesive is applied.
Balance Cuts Across the Room
Avoid starting automatically with a full tile at one edge. Find the centerline of the floor or wall, then test how the tile pattern falls on both sides. If the layout leaves a very narrow piece at one edge, shift the starting point so the cuts are wider and more balanced. This often looks more deliberate, especially on a prominent wall.
Plan around fixed features, not just the room’s overall center. A floor layout may look better when aligned with the doorway or vanity, while a shower wall may benefit from centering the pattern on the shower valve or niche. Compare the visible cuts at corners and edges, and make sure the layout still works where surfaces meet.
Treat Grout Lines as Design Lines
Grout joints form a visible grid, so their width and alignment influence the finished appearance. Choose a joint size suitable for the tile and its edges, following the tile maker’s guidance and installer recommendations. Rectified tiles may allow narrower joints than tiles with irregular edges, but a tight joint cannot correct uneven tile sizing or a surface that needs preparation.
Carry grout lines through nearby features where practical. Aligning joints across a shower wall, niche, or tub surround can create a calmer look, while a deliberate offset can distinguish an accent area. For floors, consider how joints run toward the doorway and around the toilet or vanity. Mark key lines on the surface before setting tiles.
Choose and Protect a Focal Point
Decide what should draw the eye before choosing the final starting point. It might be a patterned floor, a contrasting shower wall, a niche, or a decorative border. Keep the strongest pattern in a place where it can be seen clearly, and avoid letting plumbing fixtures or a glass panel hide its most important details.
Use simpler tile around a focal point to give it room to stand out. Check that borders and transitions end cleanly at corners, doorways, and floor edges. If the room has several competing patterns, reduce the number of accents or vary their scale. Review the plan from the doorway and from inside the shower before installation.
A balanced tile layout comes from careful measurements, considered grout lines, and a clear focal point. Sketch the surfaces, test the pattern with actual tiles, and review visible cuts before work begins. If you want help refining a plan for your Milwaukee bathroom, Lakefront Tile Co. can discuss the layout with you.